In this blog post I'll go through how I created my animated raid emotes.
Sizes
There are two options for creating animated emotes for Twitch:
- Use auto-resizing
- Upload custom sizes
I chose #2, to upload custom sizes. If you choose this route, you'll need to use specific sizes (in pixels):
- 28x28
- 56x56
- 112x112
Frames
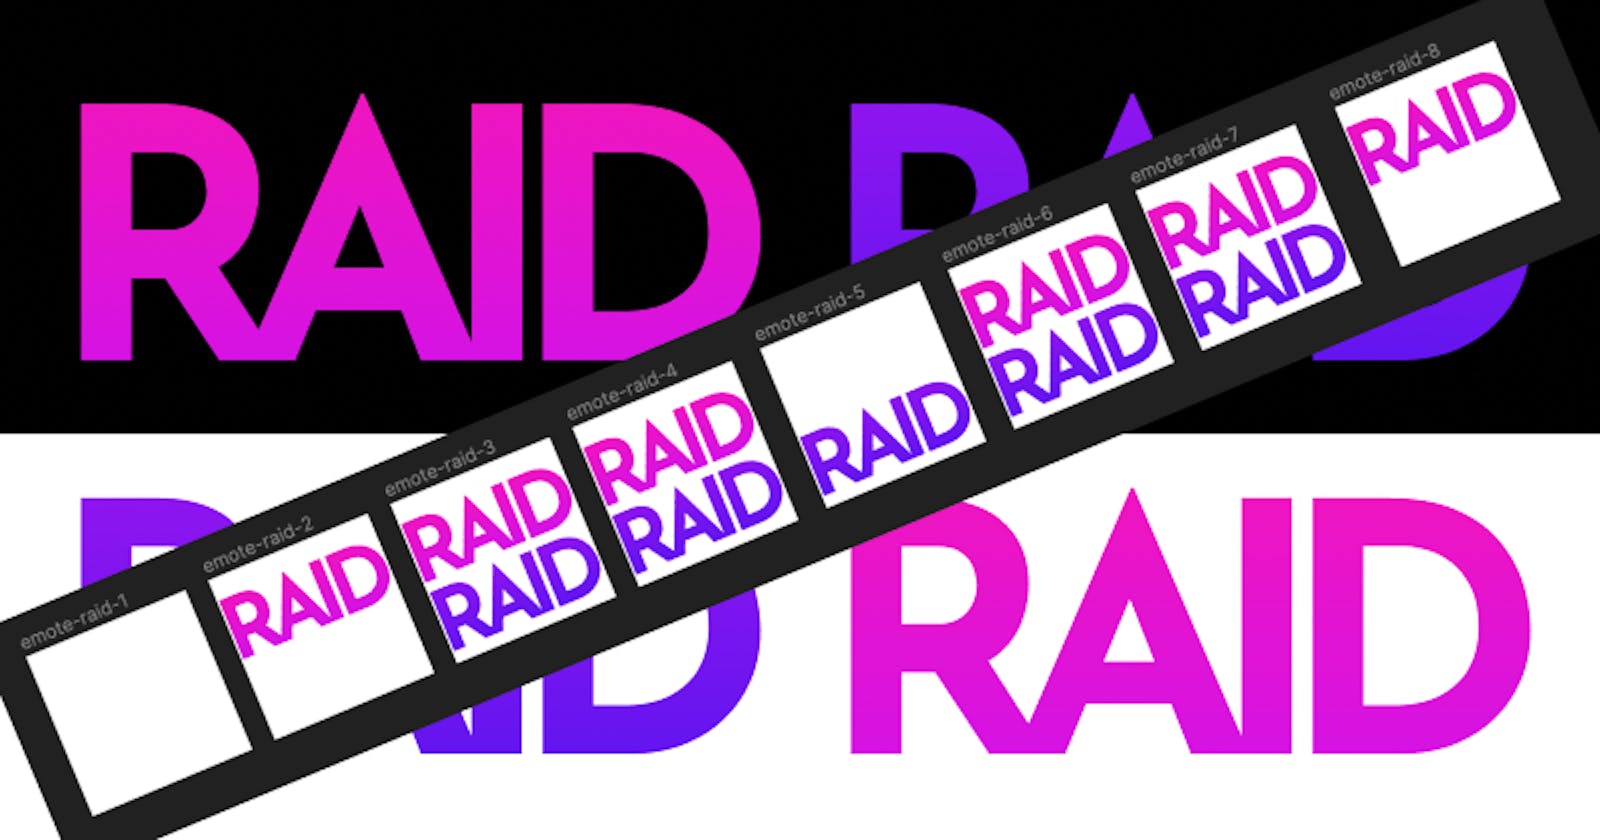
To make an animated GIF, you need to provide a separate image for each frame. I used PNG as the export format. The animated GIF would cycle through all the frames and infinitely loop.
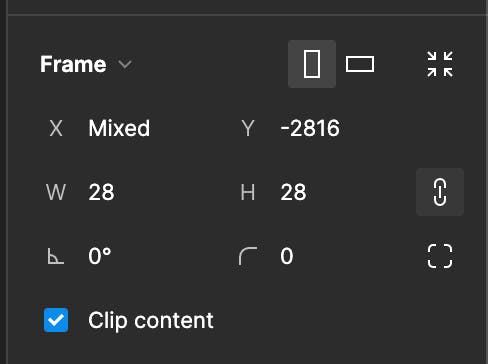
My animation has 8 frames. Since I wanted some frames to show longer, I duplicated the frame.
Ensure that you aren't exporting a background colour so that it looks good in both light and dark modes.

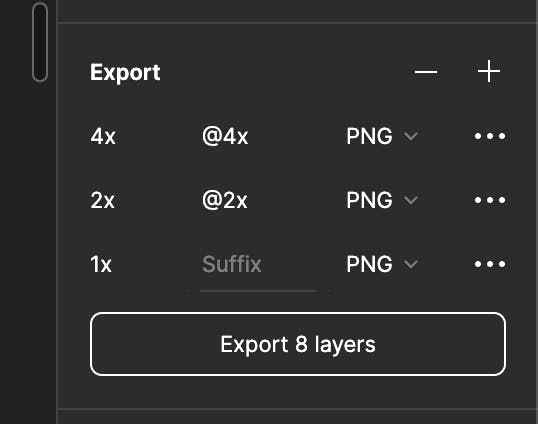
My frame size is 28x28 and the export settings look like this:


After exporting all my frames, the directory structure looks like this:
.
├── raid-112
│   ├── emote-raid-1@4x.png
│   ├── emote-raid-2@4x.png
│   ├── emote-raid-3@4x.png
│   ├── emote-raid-4@4x.png
│   ├── emote-raid-5@4x.png
│   ├── emote-raid-6@4x.png
│   ├── emote-raid-7@4x.png
│   ├── emote-raid-8@4x.png
│   └── raid-112.gif
├── raid-28
│   ├── emote-raid-1.png
│   ├── emote-raid-2.png
│   ├── emote-raid-3.png
│   ├── emote-raid-4.png
│   ├── emote-raid-5.png
│   ├── emote-raid-6.png
│   ├── emote-raid-7.png
│   ├── emote-raid-8.png
│   └── raid-28.gif
└── raid-56
    ├── emote-raid-1@2x.png
    ├── emote-raid-2@2x.png
    ├── emote-raid-3@2x.png
    ├── emote-raid-4@2x.png
    ├── emote-raid-5@2x.png
    ├── emote-raid-6@2x.png
    ├── emote-raid-7@2x.png
    ├── emote-raid-8@2x.png
    └── raid-56.gif

3 directories, 27 files
You'll notice files in each size folder that is raid-xx.gif—this is where the final output would be. Those GIF files are not there initially.
Install ImageMagick
ImageMagick is a cross-platform tool. You can learn about it and find installation instructions on its official website: imagemagick.org
Once you have ImageMagick installed for your operating system, you will have access to a number of commands. One of them will be the convert command.
Create the animated GIF
Change directory (cd) into each size folder and run the following command:
convert -delay 20 -loop 0 -quality 100 *.png raid-xx.gif
Replace -xx in raid-xx.gif with the corresponding size, e.g. raid-112.gif.
The file naming requirements for ImageMagick are a bit quirky. It needs numbers, and your numbers must start at 1. Also, if you have more than 10 frames, you should zero pad your numbers, e.g. 01 instead of 1 so that they are in the right order.
Quality
I used this approach to create my new animated raid emote. The quality does not appear to be all that great but I'm guessing it's related to GIFs in general not being amazing quality.
If anyone has tips on how to make higher-quality animated GIFs, please let me know! I used Figma to do the initial design, exported the PNG's, then ran them through ImageMagick.
Final Result
This is what the final result is for the 112x112 size.

And this is what it looks like in chat:


For the above examples in chat, I have a solid PNG version (2nd one from the left and right), and the animated GIF (1st and last). The edges are not as smooth on the animated GIF but it's reasonable enough quality.

