The following post will talk about how you can add, remove, edit, and alias custom commands with the StreamElements chatbot.
I've assembled this resource as a cheatsheet. Feel free to use and share.
Enable the command
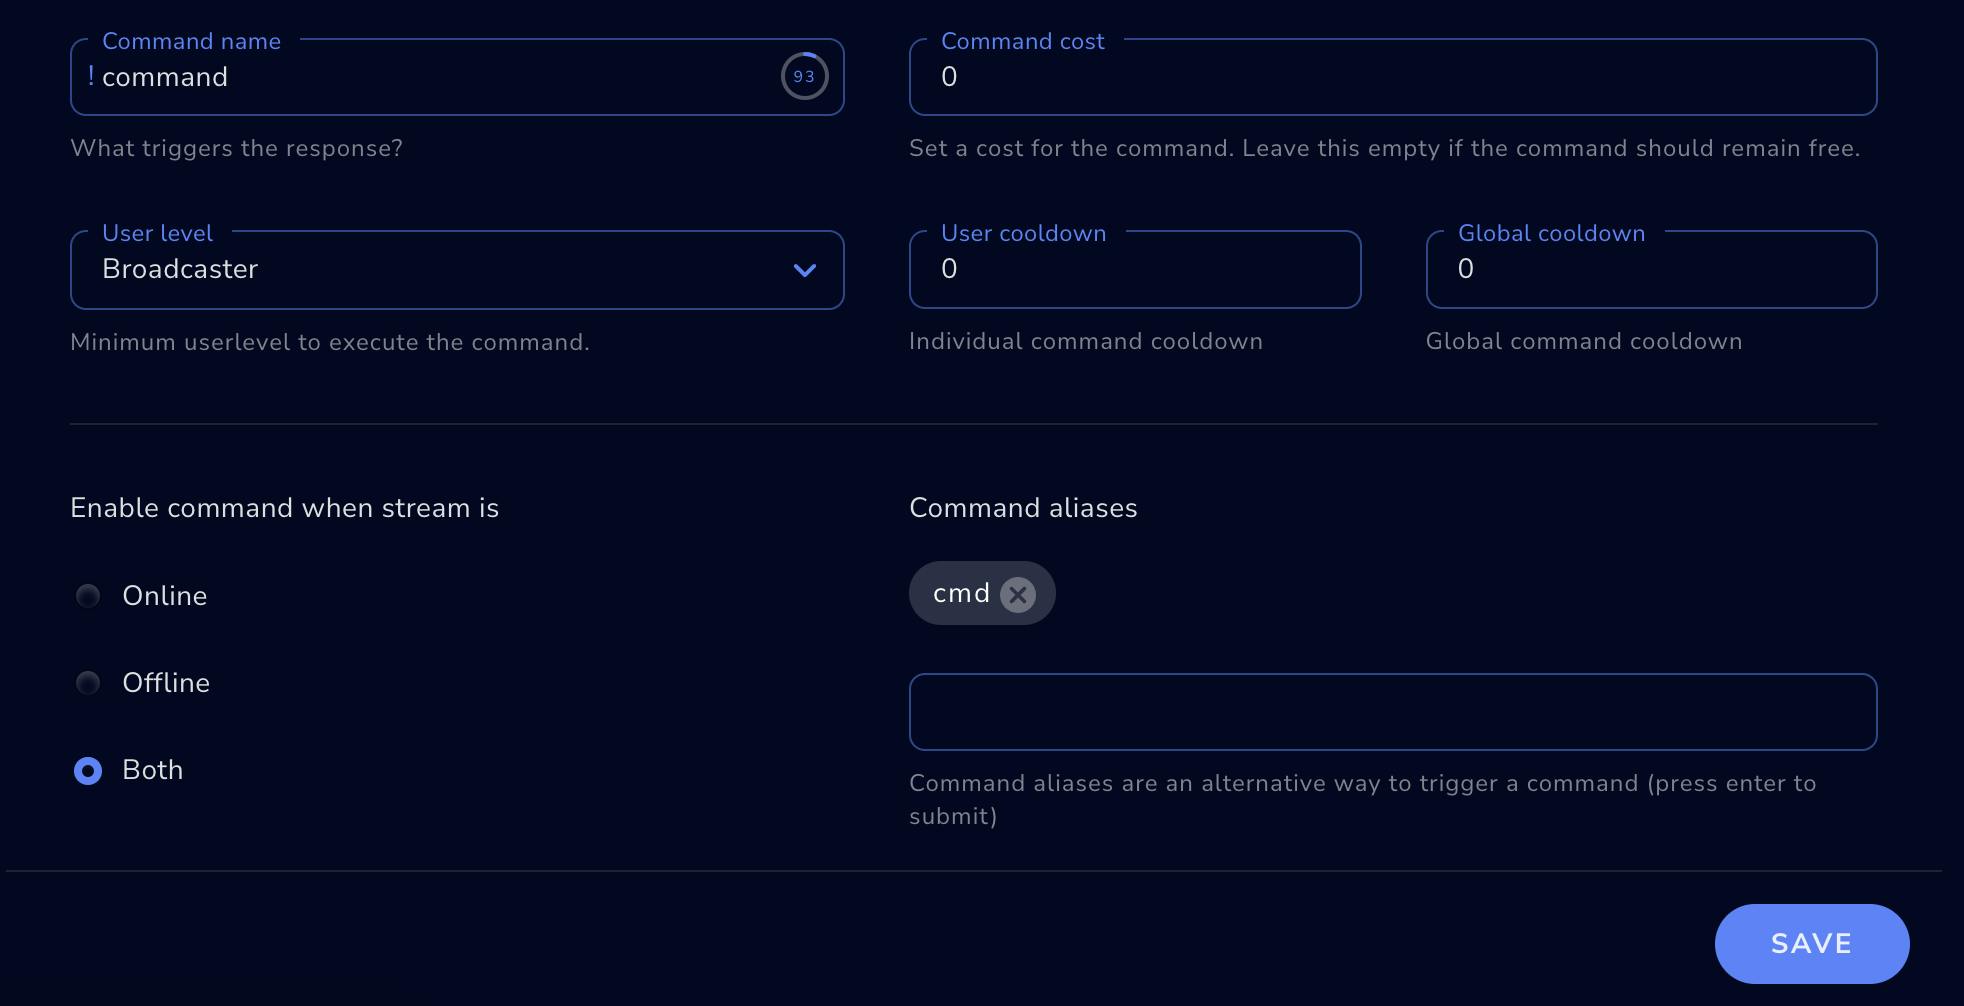
First before doing anything you'll need to enable the command in the StreamElements chatbot dashboard. It can be found in the Chat bot -> Chat commands -> Default commands section (link).
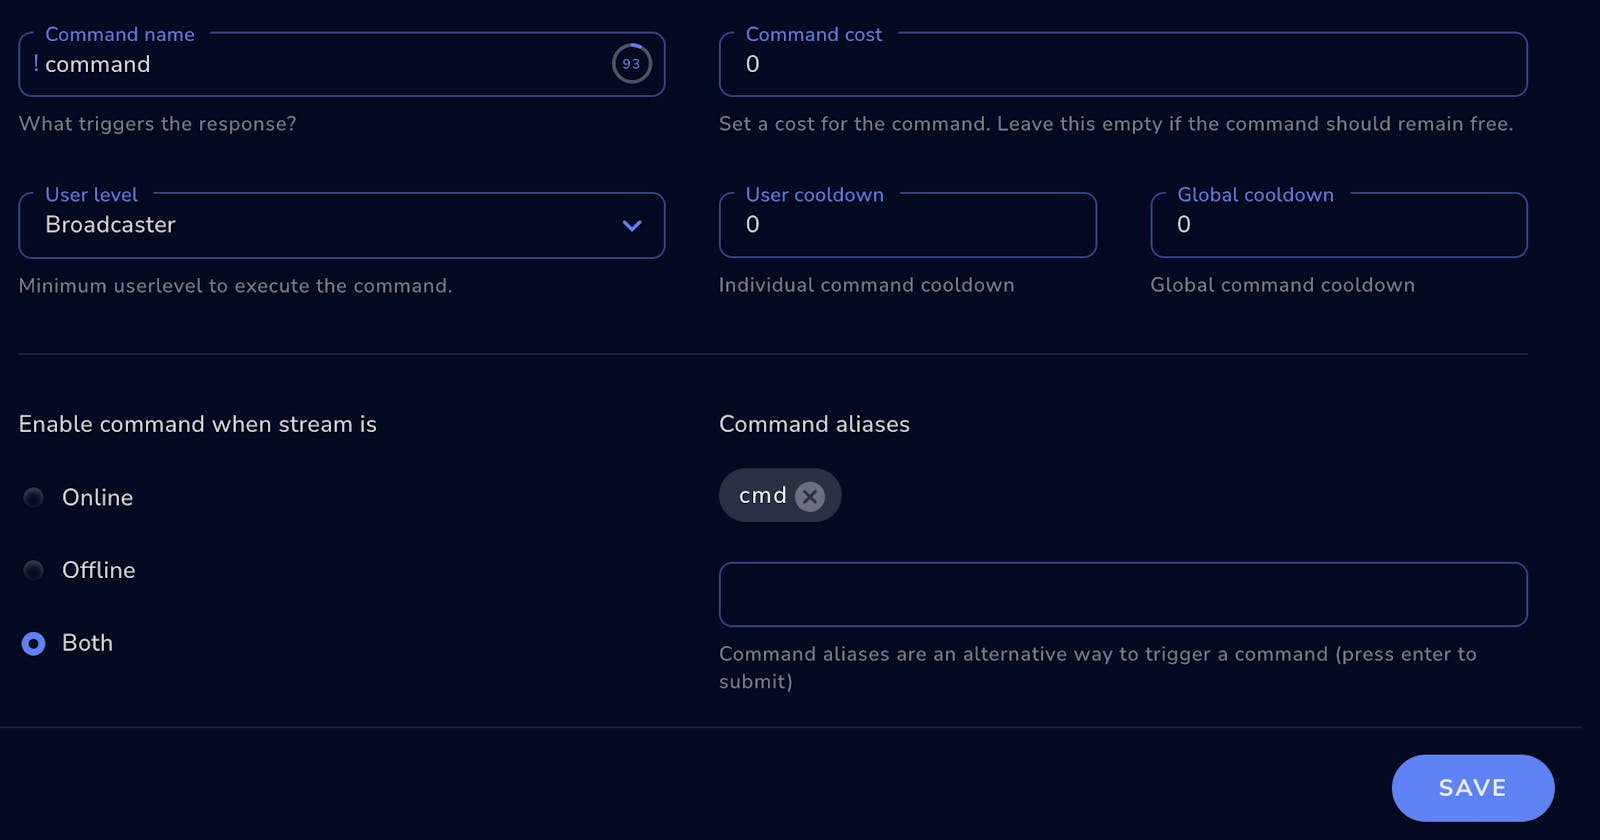
In the below screenshot, you can see I've got it enabled only for myself. The command is !command which has an alias !cmd.

Command syntax
The general command syntax is as follows:
!command arg1 arg2 arg3 (arg4) (arg5)
Most command actions require 3 arguments (e.g. add, remove, edit) but some require more (e.g. alias).
You should also note that you can reference the command name as !commandname or commandname—it's generally understood by the StreamElements chatbot what you mean. The important thing is that the arguments are in the right order.
Add a command
You can add a command with the following syntax:
!command add !commandname output text

Remove a command
You can remove a command with the following syntax:
!command remove !commandname

Edit a command
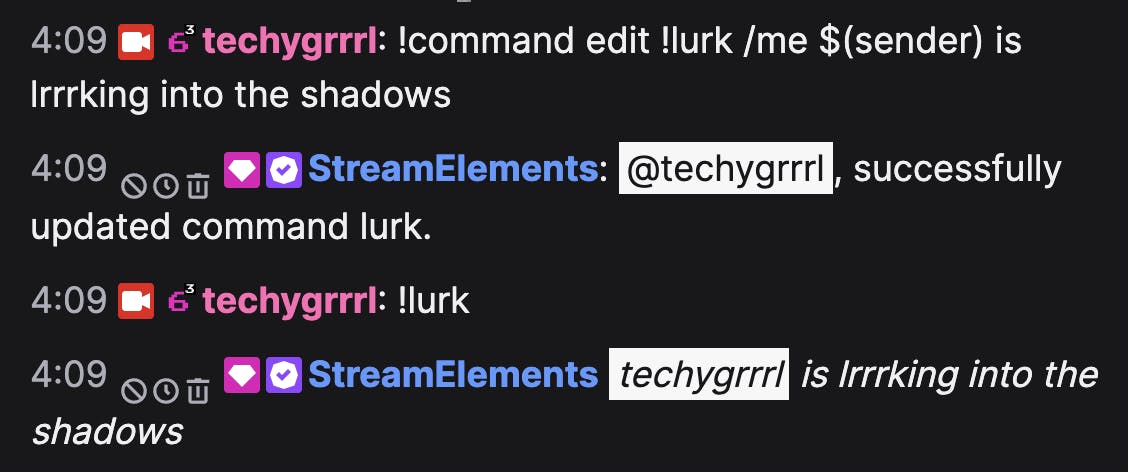
You can edit a command with the following syntax:
!command edit !commandname new output

Alias a command
You can add an alias to an existing command. If you don't know what an alias is, it's just another command for the same command. It has the same result but is a better/cleaner way than creating 2 separate commands, allowing you to update the canonical command only.
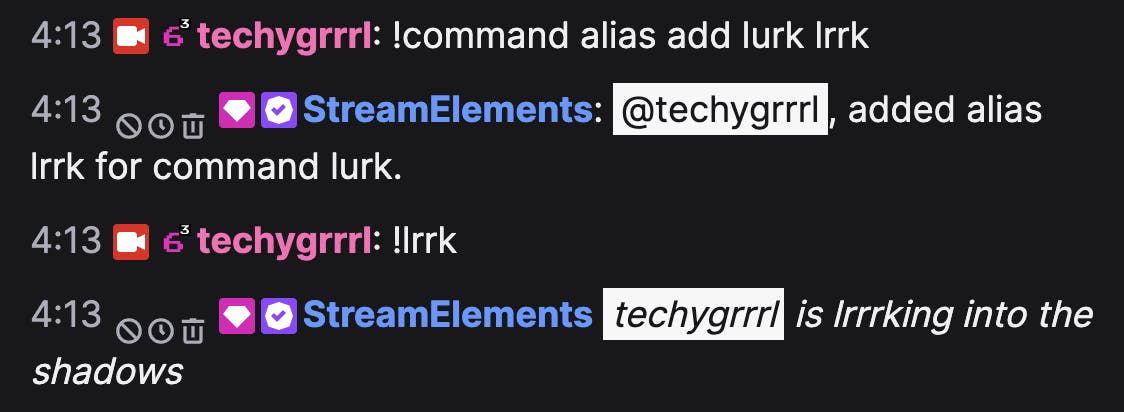
An example is my !lurk command which is aliased to the very on-brand !lrrrk command, as well as a misspelling !lrrk (in case people do not count the R's) 🙃
You can add an alias to an existing command with the following syntax:
!command alias add commandname cmdname

Command variables
Some common variables include sender and user which can be accessed by using either ${user} or $(user) (with braces or parentheses).
StreamElements also provides a handy list of command variables.

