


In this post I will go through making a simple chat bot.
If you're antsy to see the code, you can go straight to the code here.
Tech Stack
- Node.js
- TypeScript
- TMI.js to read and send chat messages to your Twitch chat
- Twitch CLI to authenticate quickly and temporarily (to see faster results)
Features
This simple proof-of-concept app reads every message sent by a user and replaces all R's with 3 R's and mentions them.

Starter Code base
I have a Node.js TypeScript template that I start new projects with. You're welcome to use it.
Authenticating
Before you can act as your bot, your code needs to tell Twitch that your bot is authorized to act on behalf of your bot.
This is the general flow:
- Register an application in the Twitch developer console
- Save the client ID and client secret in a text file somewhere. Please note that the secret is sensitive information and should not be exposed
- Acquire a user access token with the Twitch CLI
Register an Application
Follow the official Twitch documentation for registering an app as that is out of scope for this article.
Get a user access token for your bot
Save your client ID and client secret from the previous step.
Install the Twitch CLI
We will use the Twitch CLI for quickly acquiring a user access token. For a long-term solution, this will be inconvenient because you'll need to run this step quite frequently. But for the sake of this demo, it'll live long enough to get something done and see some results.
It also includes configuration instructions. You'll need to run the following:
twitch cli configure
When prompted for each, paste the client ID and client secret that you copied over from the previous step.
Login as your bot
Next you'll need to log in as your bot. The Twitch CLI will open your default browser with a login page. You should copy this link to the browser where you are logged in as your bot. This is because you want a user access token for your bot user, not yourself.
Run the following command in your terminal:
twitch token -s 'chat:read chat:edit' -u
What this is doing:
- calling the token command
- specifying your app requires the scopes
chat:readandchat:edit(to be able to read and send messages on behalf of a user) - specifying
-uindicates you want a user access token. The OAuth topic is a bit complex but the other option is an app access token which cannot use those scopes and will not work, so that's why we specify this.
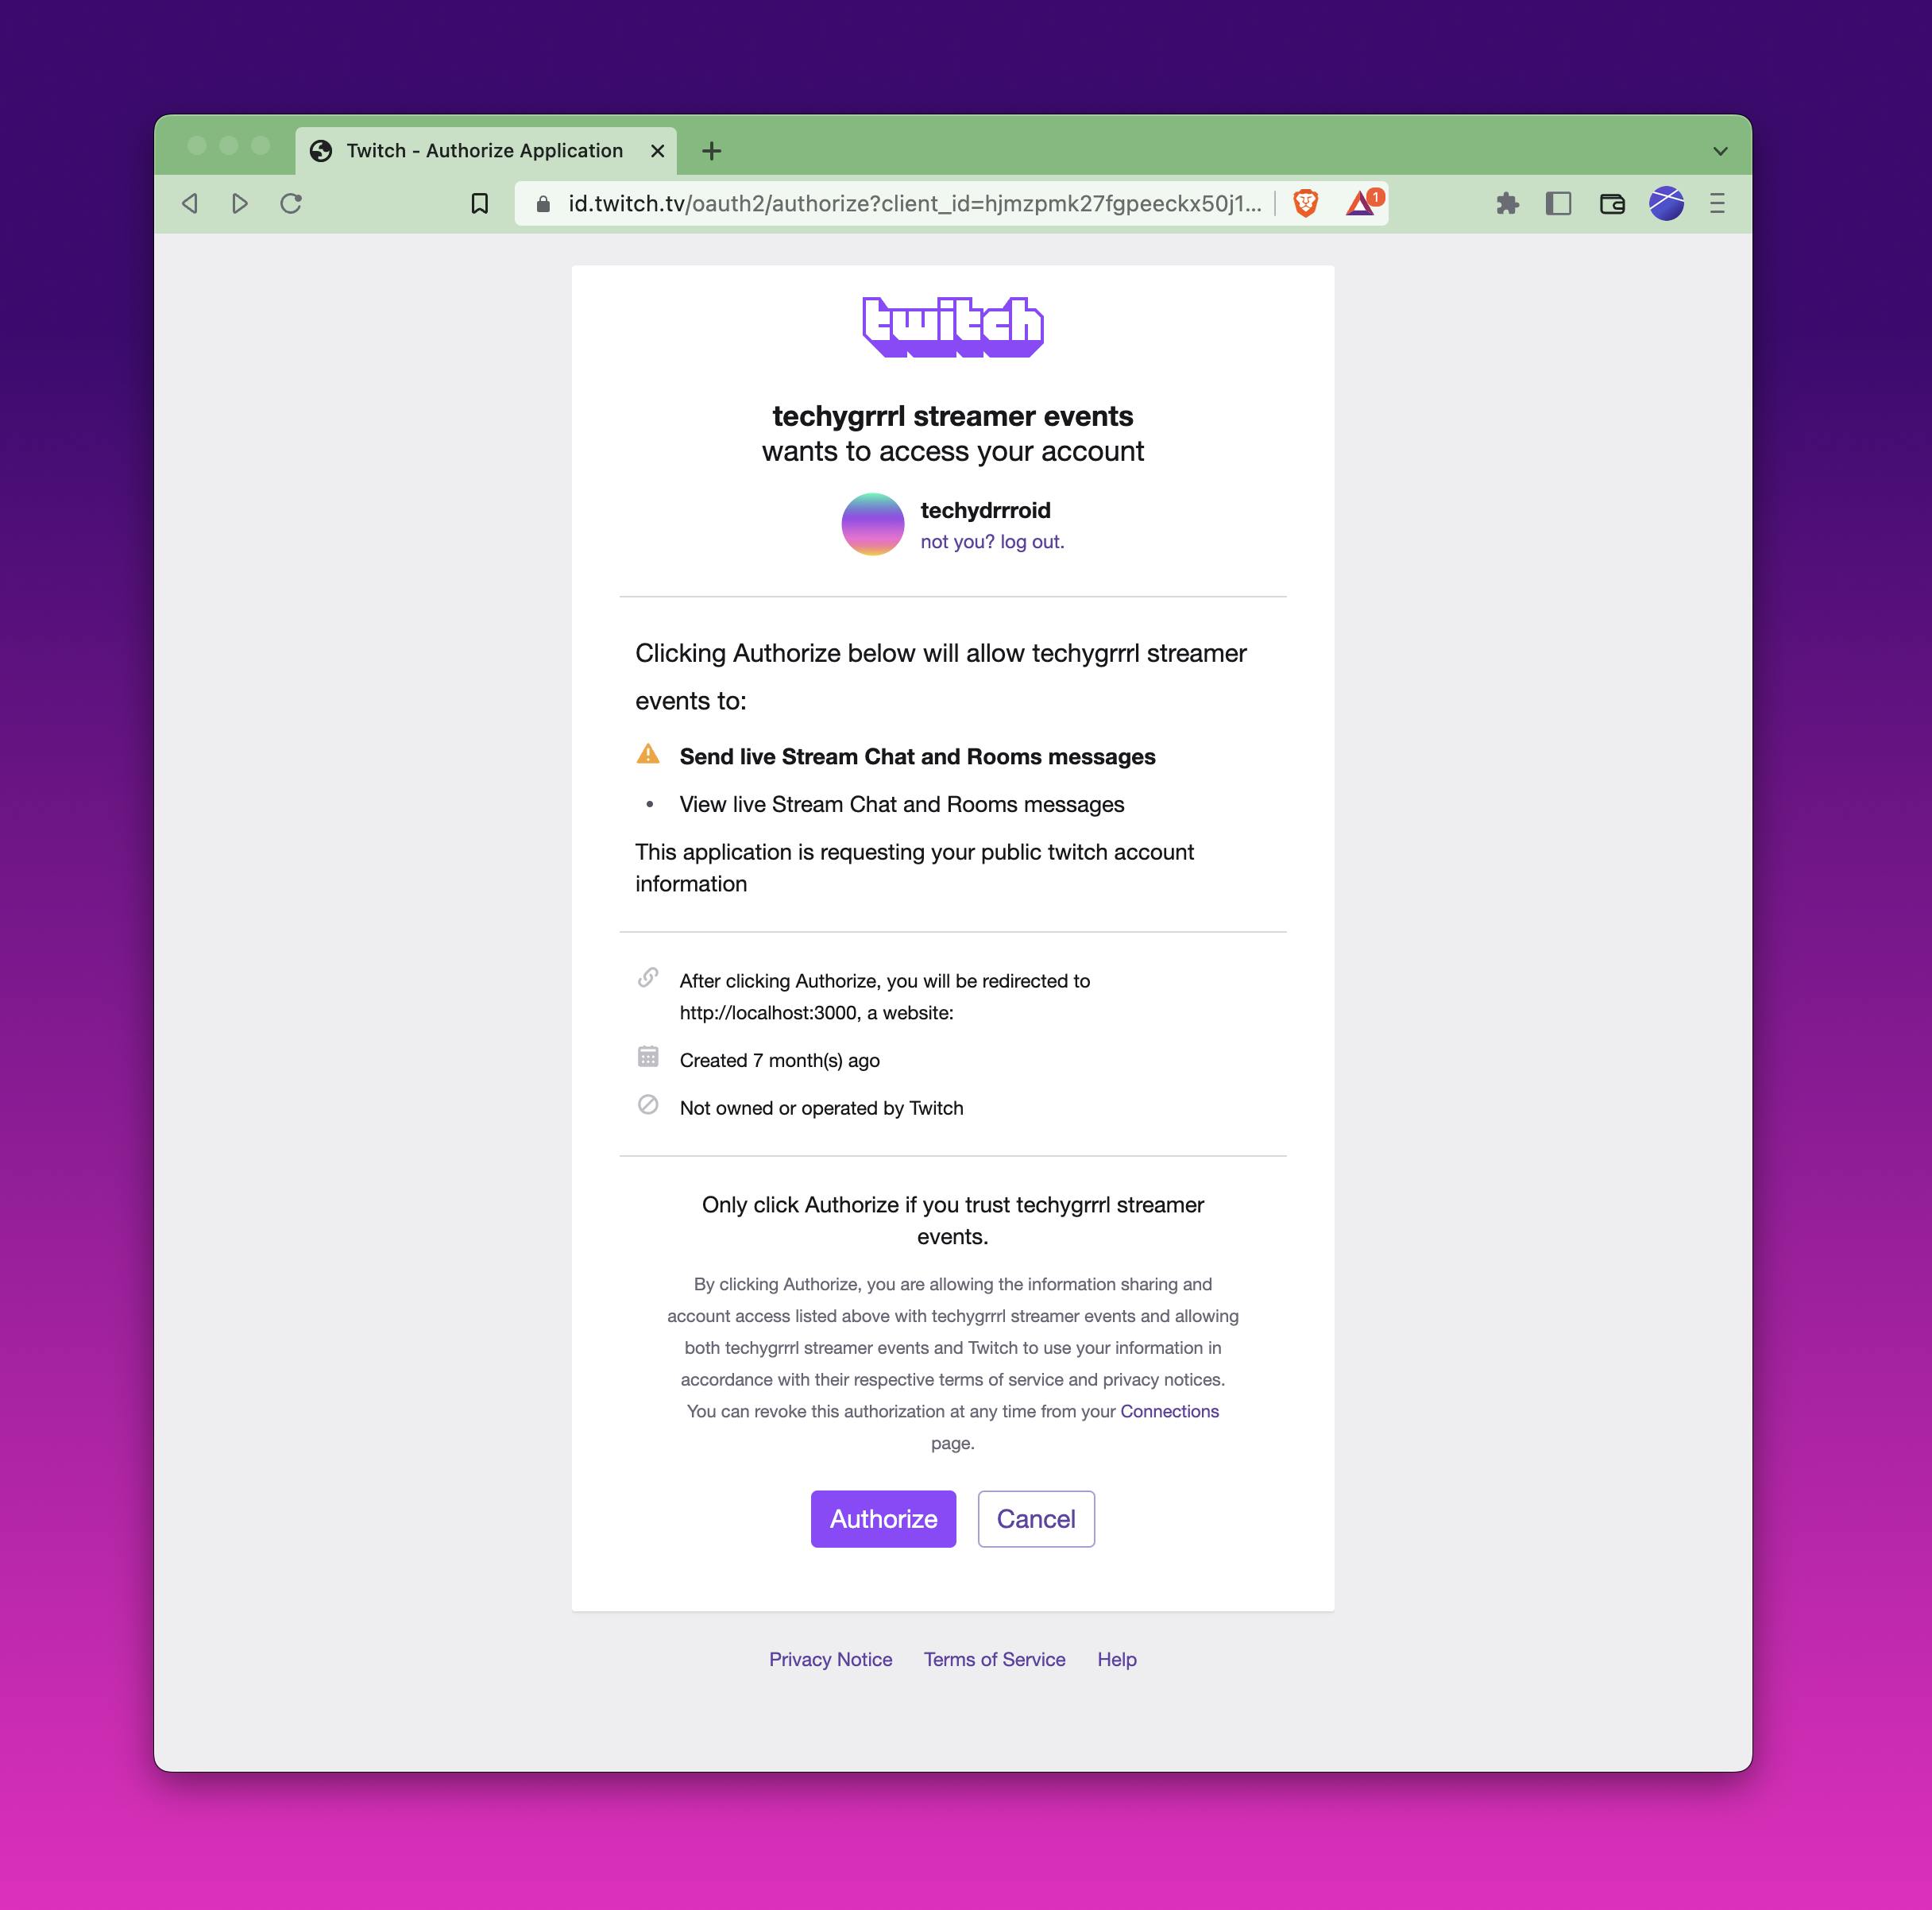
Next the browser should pop open with a login URL.
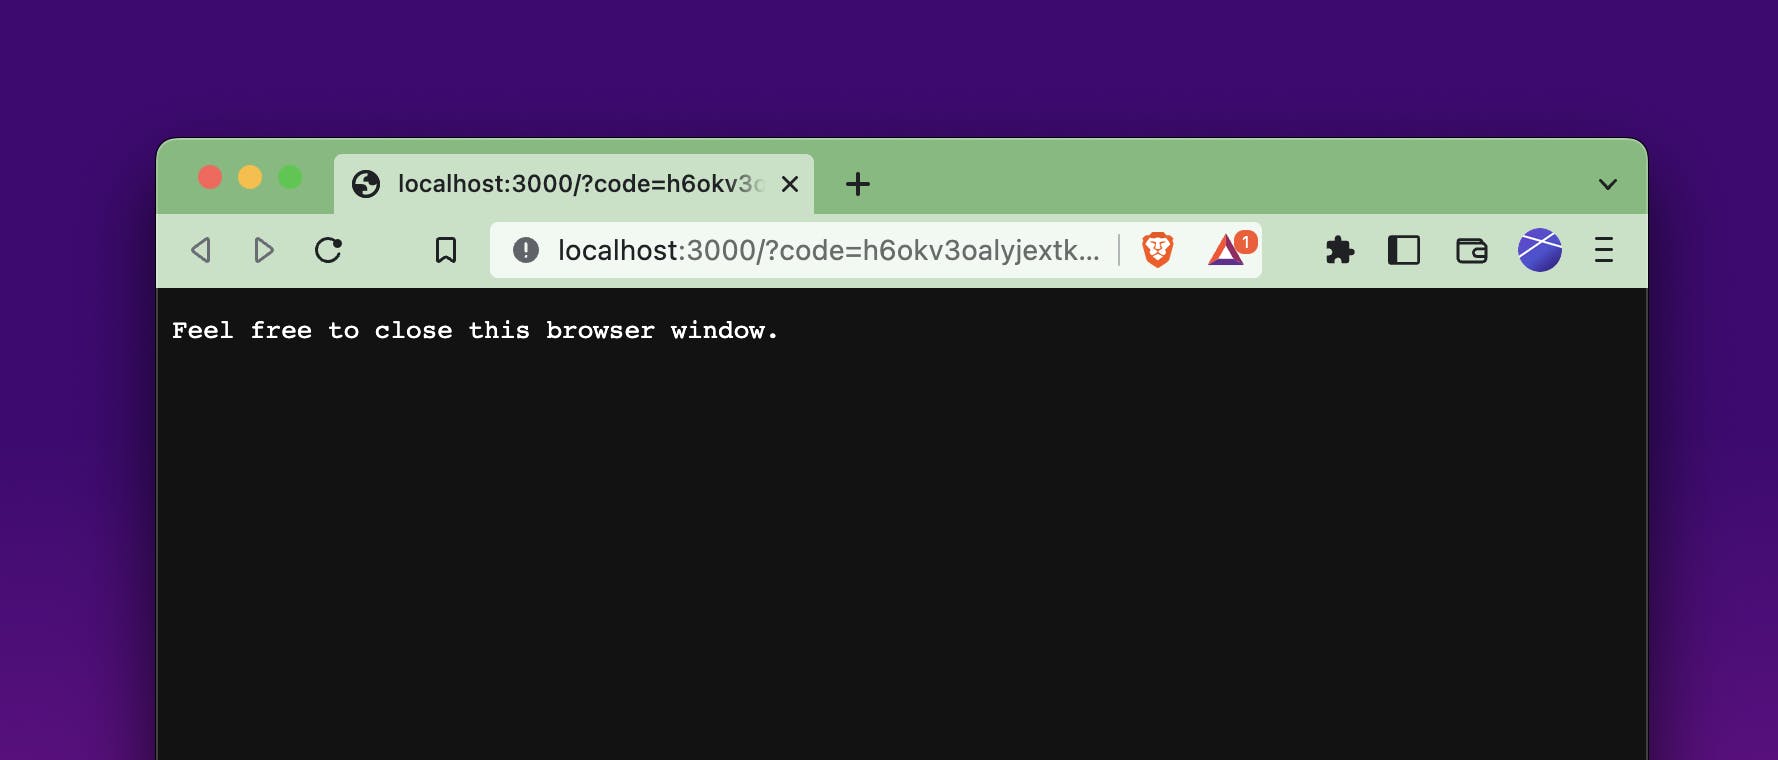
If everything worked correctly, you should be redirected to a page that says it's safe to close the browser.
After you authorize the app, you should see the token print to the console. This token is sensitive, and based on the above command, it means anyone with this can read and send messages to chat on behalf of whichever user logged into your app, so don't share it with anybody.
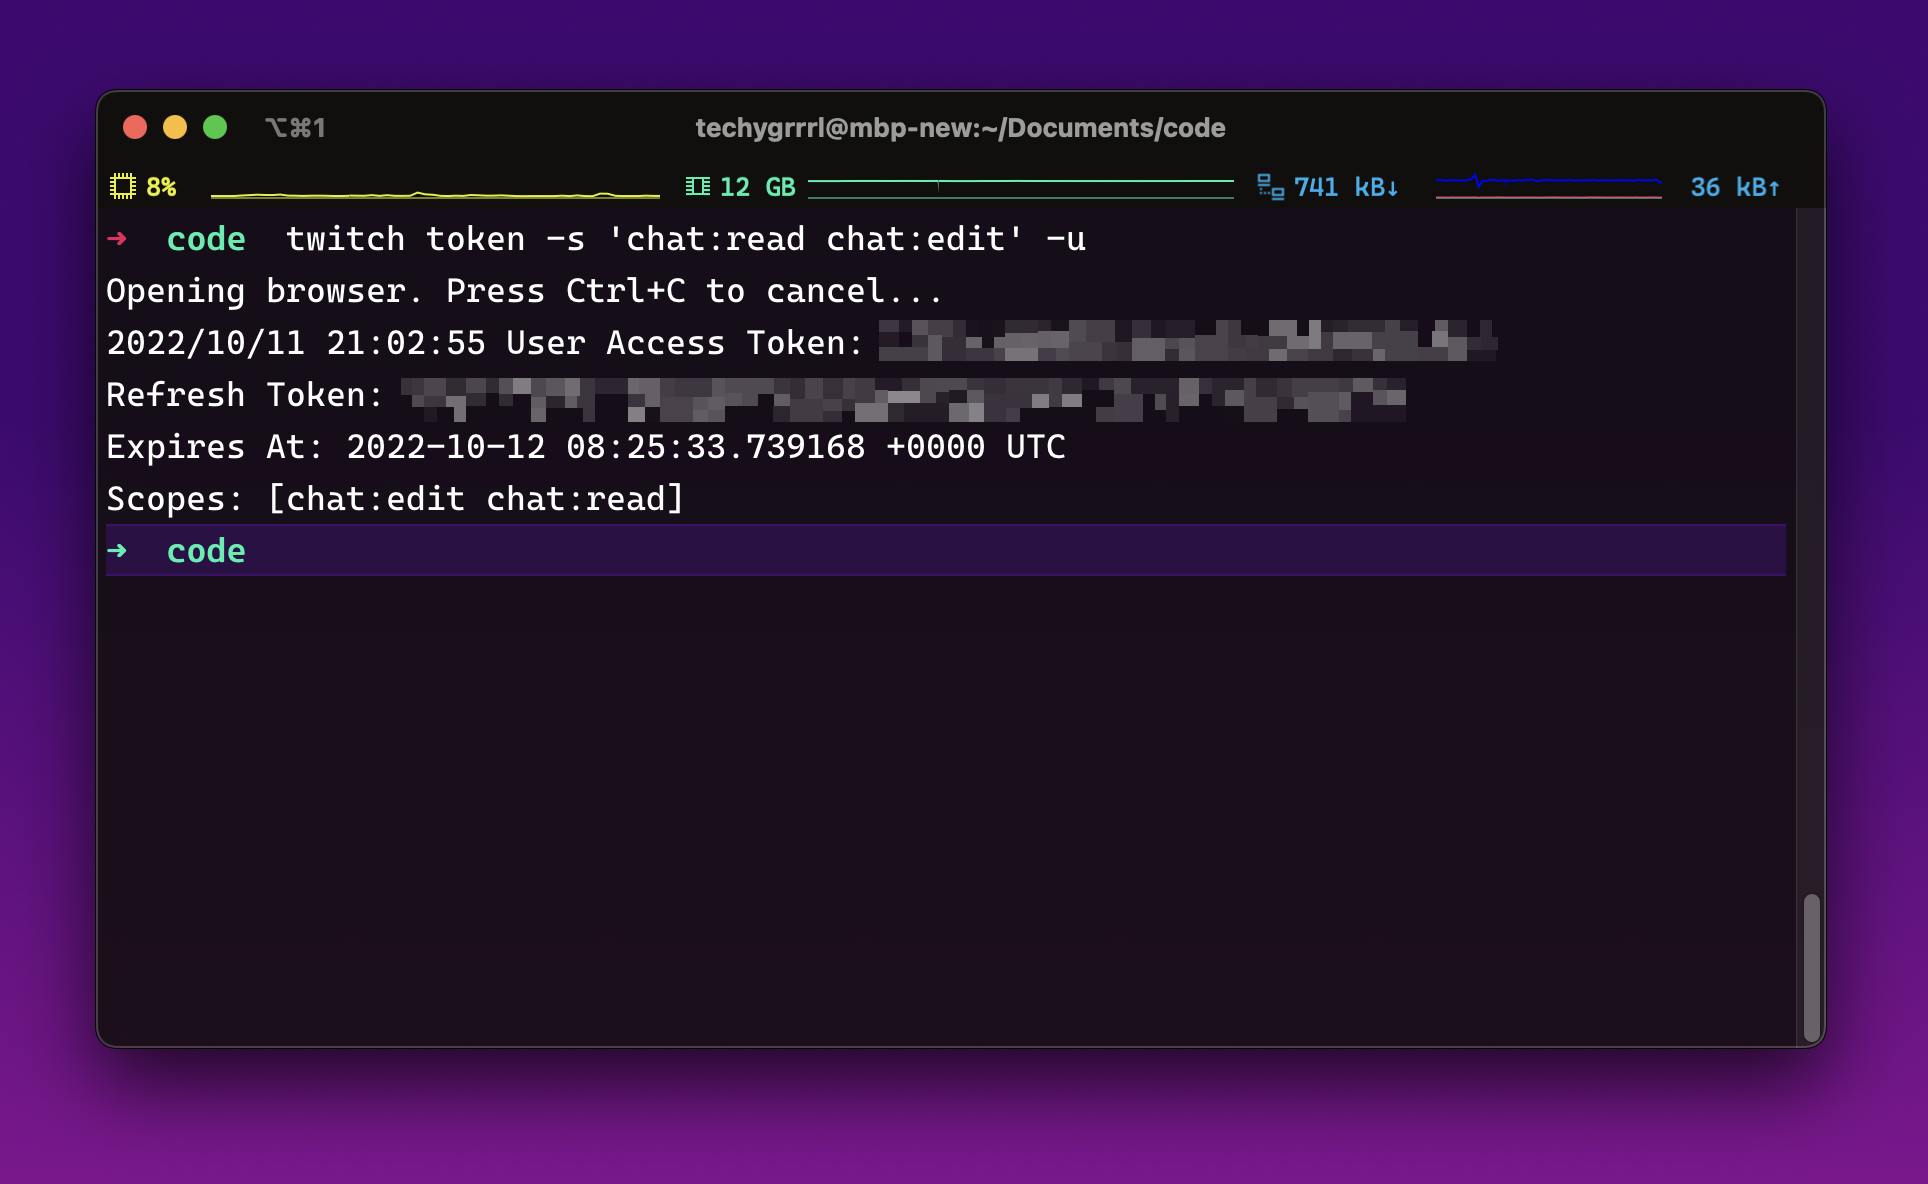
Copy and paste this access token somewhere you can refer to it later on.
Start Coding!
Now that you have the user access token, you're ready to authenticate as your bot and read and send messages.
You have 2 options for the code:
Before I start walking through the code base, follow the instructions in the readme to install the dependencies.
First, we need to import our dependencies, which are Express.js, TMI.js, and dotenv.
import * as tmi from "tmi.js";
import Express from "express";
import dotenv from "dotenv";
Next, the project uses environment variables for configuration, so we will load up environment variables from the .env files:
dotenv.config();

const { WATCHED_CHANNEL, BOT_USERNAME, BOT_USER_ACCESS_TOKEN } = process.env;

if (!WATCHED_CHANNEL) throw new Error("WATCHED_CHANNEL required");
if (!BOT_USERNAME) throw new Error("BOT_USERNAME required");
if (!BOT_USER_ACCESS_TOKEN) throw new Error("BOT_USER_ACCESS_TOKEN required");

const port = process.env.PORT || 4141;
The above code makes sure we've configured the environment variables properly. If we don't have all the values we need, the app won't start.
Next, to keep the app running, and create a health check endpoint, we will create a server with Express and run it:
const app = Express();

app.get("/", (req, res) => {
  res.json({ status: "ok" });
});
app.listen(port, () => {
  console.log(`Listening on http://localhost:${port}`);
});
This is enough to have a server running. When you click the link that shows up in the console you should see JSON that prints out { "status": "ok" }.
Next we will connect to Twitch with our credentials and listen to messages:
const client = new tmi.Client({
  channels: [WATCHED_CHANNEL],
  identity: {
    username: BOT_USERNAME,
    password: `oauth:${BOT_USER_ACCESS_TOKEN}`,
  },
});

client.connect();

client.on("message", (channel, tags, message, isSelf) => {
  // Your chatbot logic goes here!
  console.log('message', message);
});
The above code will log every message to the console. Here are some important values:
channelis the channel it's sent in. Since you can watch multiple channels, this is providedtagsis Twitch-provided metadata about the user, the message, etc. This is used to learn about things like emotes or bits or elevated messages attached to the chat.messageis the message sent by the userisSelfis a boolean value to see if the owner of the user access token is the one sending this message. Usually you'd check this to make sure the bot ignores itself.
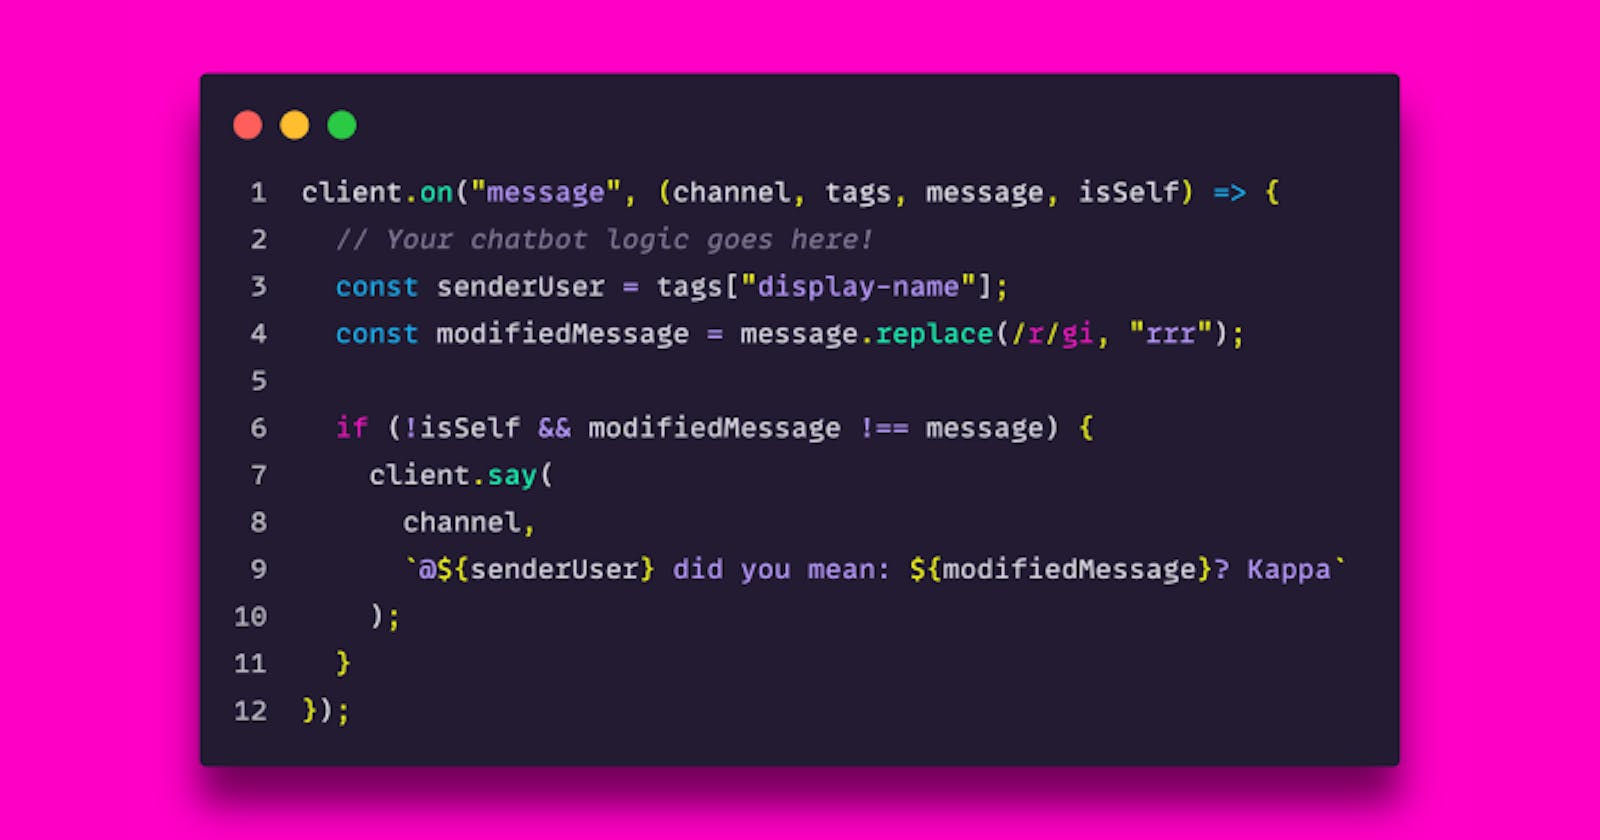
In my code, I've changed my logic to do the following so that it can send a message to the user replacing every R with 3 R's to stay on brand:
client.on("message", (channel, tags, message, isSelf) => {
  // Your chatbot logic goes here!
  const senderUser = tags["display-name"];
  const modifiedMessage = message.replace(/r/gi, "rrr");

  if (!isSelf && modifiedMessage !== message) {
    client.say(
      channel,
      `@${senderUser} did you mean: ${modifiedMessage}? Kappa`
    );
  }
});

That's it! 🚀
And that's it! In under 50 lines of code you can have a simple chat bot.
